Update billing info
How the Invoice & Billing page works: your billing details, the card on file, and where every invoice and receipt lives.
By Nora Ellis, Affiliate Marketing & Creator Economy Writer · with Wooly Network, Advertiser Success · 31 August 2026 · 4 min · Marketplace Best Practices
Company name changed? New finance email, a fresh VAT number, or a card that is about to expire? All of it lives in one place: Invoice & Billing. Here is how that page works and how to keep your details right, so every invoice we send you is one your accountant can file without asking questions.
Step 1: Open Invoice & Billing
It is in the left sidebar of your advertiser workspace, just under Plans, which is handy, because your plan is what most of these charges are for.
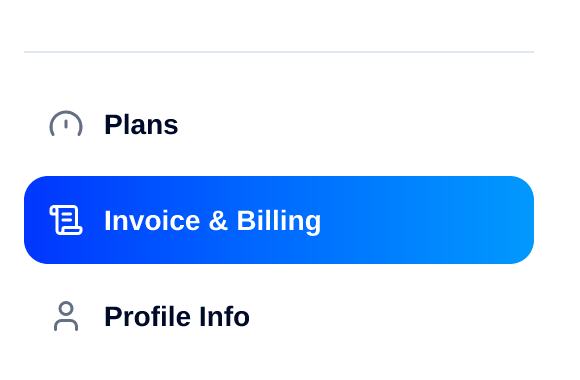
Sidebar → Invoice & Billing.
Step 2: Read what is on file
The first thing on the page is Billing information: exactly what appears on every invoice.
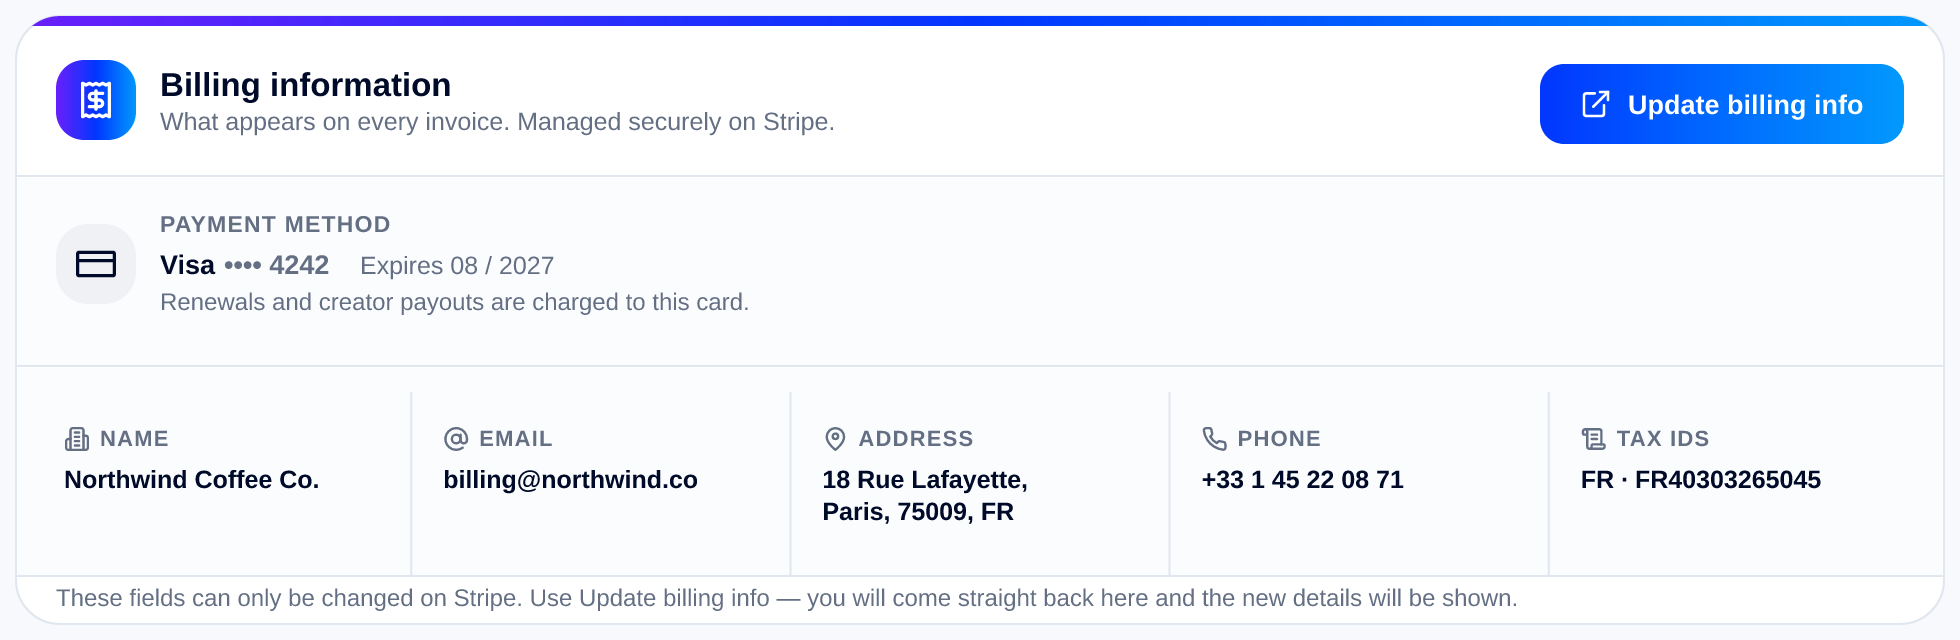
One card, three layers: the button, the payment method, and the five details.
- Payment method: the card your renewals and creator payouts are charged to. It tells you the brand, the last four digits and the expiry, and it changes colour to warn you: orange when the card expires soon, red when it has already expired or when no card is saved at all. An expired card is the most common reason a renewal is refused.
- The five fields: Name, Email, Address, Phone and Tax IDs. Anything you have not filled in simply says “Not set”.
You will notice you cannot type into them. That is on purpose: these details live on Stripe, which owns the address rules and the tax number checks, so we show them rather than keep a second copy that could drift out of step.
Step 3: Press Update billing info

Top right of the panel.
The button hands you to Stripe's secure billing portal, where you can change your name, email, address, phone and tax ID, and replace the card on file. Your card details never pass through us.
Step 4: Come straight back
Stripe returns you to this same page as soon as you are done, and you will see this:
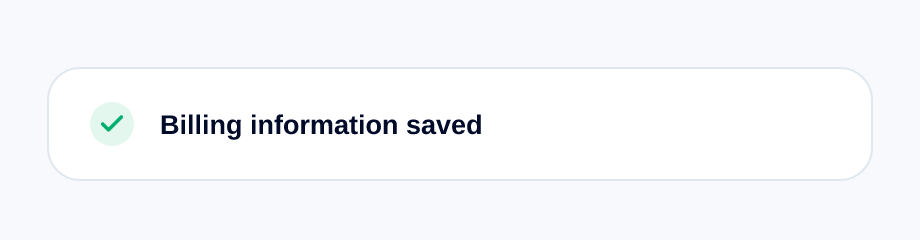
Saved. The panel then re-reads your details from Stripe, so what is on screen is what Stripe holds.
When does the change show up? On screen, straight away. On paper, from your next bill onwards; invoices already issued keep the details they were printed with, which is exactly what your accountant wants. So if a new company name or VAT number needs to appear on the next charge, update it before your renewal date.
Step 5: Find your invoices and receipts
Underneath sits Billing history: every charge on the account, newest first, with the last 40 kept on the page.
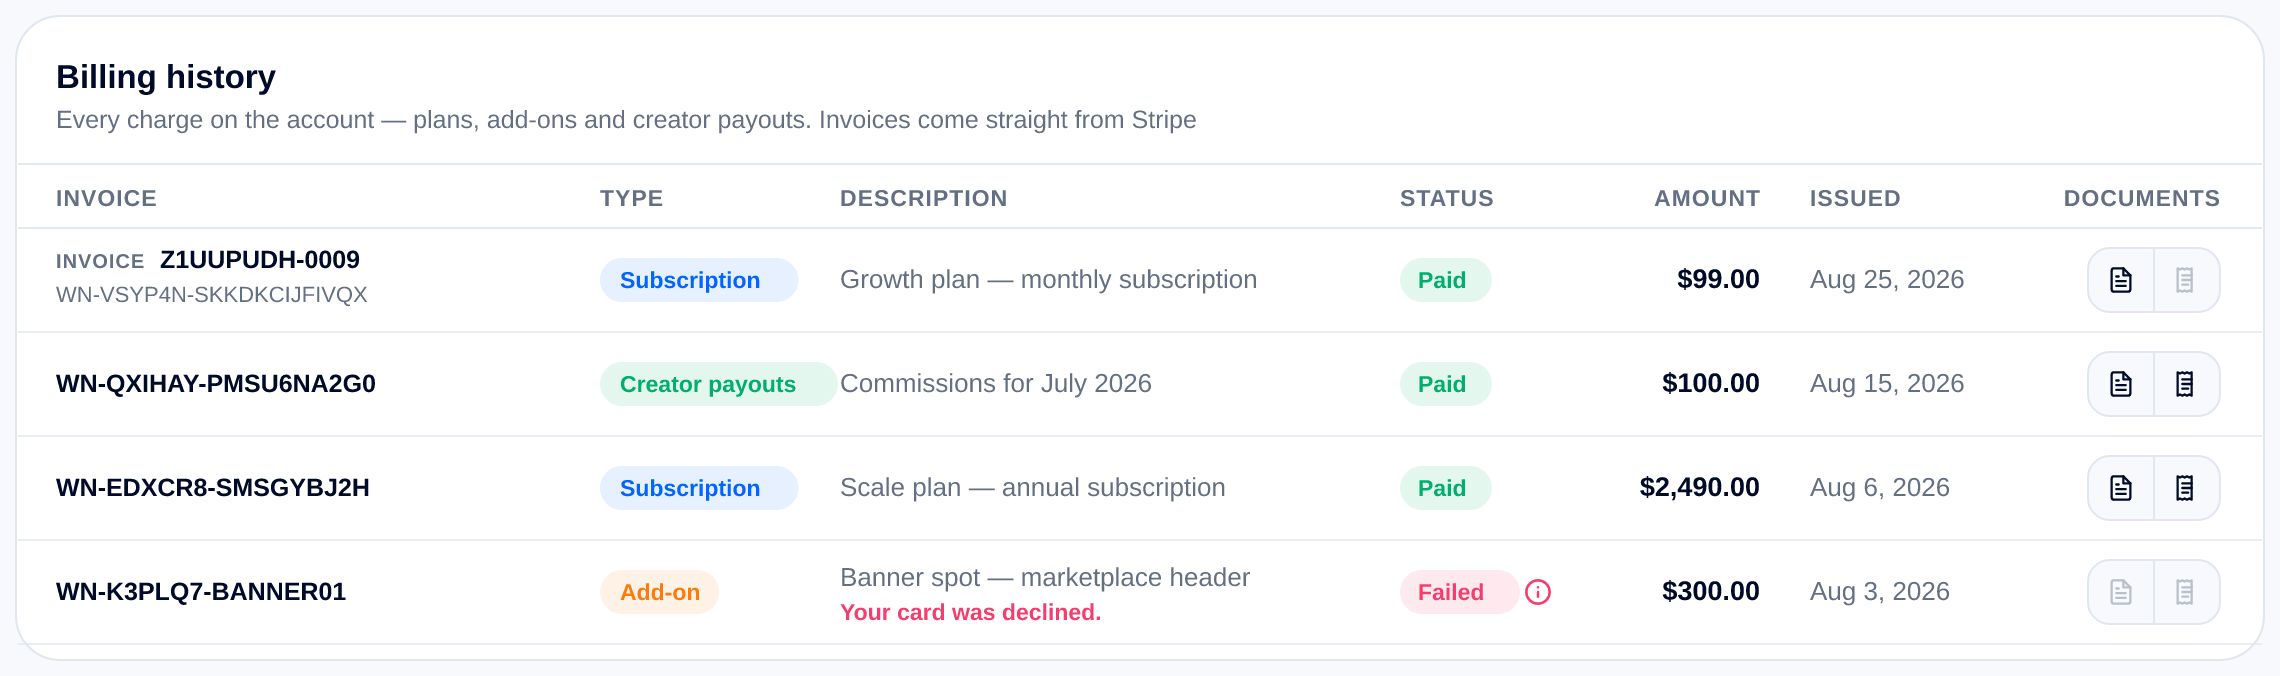
Each line is typed (Subscription, Creator payouts, Add-on or Fee) and stamped Paid, Due or Failed.
A Failed line is worth a click: the pill opens the reason Stripe gave, and where the charge is still outstanding it offers Pay this invoice so you can settle it on the spot with any card; your billing date stays the same.
The last column is where the paperwork lives, and it is two buttons rather than one, because an invoice and a receipt are different papers: the invoice itemises what was billed, the receipt proves the card was charged.
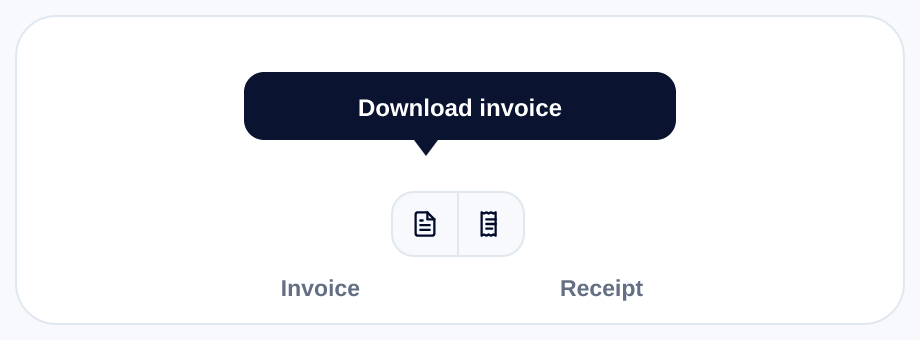
Hover to see which is which. A greyed-out half means Stripe has not issued that document; hover it and it tells you why.
Both come straight from Stripe, so what you download is the real document for the real charge. Nothing here is generated by us.
Ready when you are
Launch your campaign
With your billing details in order, everything that follows is just performance. Set your commission, publish to the marketplace and let creators start applying.
Launch your first campaign →Related reading
- How to approve the right creators — A walkthrough of the Creator applications tab: every status explained, what each button does, and exactly what changes for the creator when you press it.
- How to create your first Campaign — A step-by-step walkthrough of the Launch Your Program tab: every field, all four campaign types, and exactly what creators see when you publish.
- How to set commission payment terms — The waiting period creators see before they apply: what 30 and 60 days mean, and how to pick yours in four clicks.
More from the Wooly Network Knowledge Library